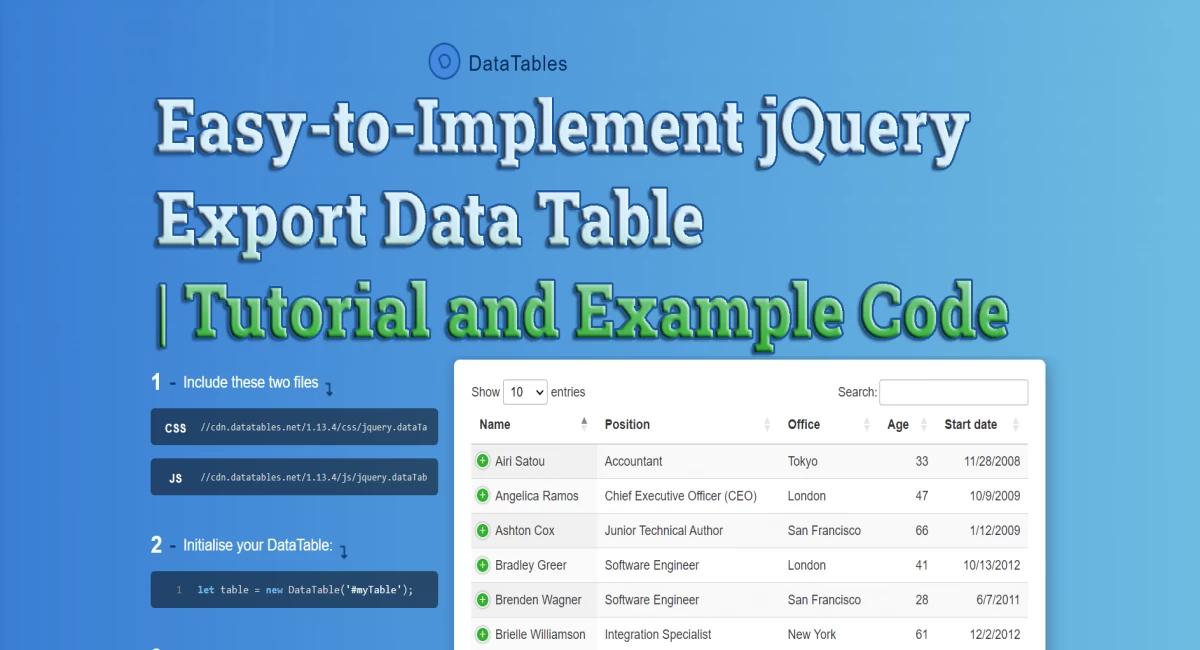
Easy-to-Implement jQuery Export Data Table | Tutorial and Example Code
jQuery is a widely used JavaScript library that allows web developers to easily manipulate HTML documents, create dynamic effects, and handle events. One of the most popular uses of jQuery is to create data tables. Data tables are used to organize and display data in a tabular format, making it easier for users to understand and interact with the information. In this blog post, we will discuss how to implement an easy-to-use jQuery export data table plugin.
What is a jQuery Export Data Table?
A jQuery Export Data Table is a plugin that allows you to export data from a data table in various formats, such as CSV, Excel, and PDF. This plugin makes it easy to export data from a data table without the need for server-side processing or any additional software.
How to Implement a jQuery Export Data Table Plugin
Implementing a jQuery Export Data Table plugin is a straightforward process. You need to follow the below steps:
- Include jQuery: First, you need to include the jQuery library in your HTML document. You can either download the library or include it from a CDN (Content Delivery Network).
- Include the Export Data Table Plugin: Next, you need to include the Export Data Table plugin. You can download the plugin from the official jQuery website or include it from a CDN.
-
Create a Data Table: Create a data table with the data you want to export. You can use the HTML
<table>tag to create a data table. - Call the Export Function: Finally, call the export function on the data table. The export function will export the data in the format you specify.
Example Code
Here is an example code for implementing a jQuery Export Data Table plugin:
<!DOCTYPE html>
<html>
  <head>
    <title>Export Data Table</title>

    <script src="https://code.jquery.com/jquery-3.6.0.min.js"></script>

    <!-- Include DataTables library -->
    <link rel="stylesheet" href="https://cdn.datatables.net/1.11.3/css/jquery.dataTables.min.css">
    <script src="https://cdn.datatables.net/1.11.3/js/jquery.dataTables.min.js"></script>

    <!-- Include DataTables Buttons extension -->
    <link rel="stylesheet" href="https://cdn.datatables.net/buttons/1.7.1/css/buttons.dataTables.min.css">
    <script src="https://cdn.datatables.net/buttons/1.7.1/js/dataTables.buttons.min.js"></script>
    <script src="https://cdn.datatables.net/buttons/1.7.1/js/buttons.flash.min.js"></script>
    <script src="https://cdnjs.cloudflare.com/ajax/libs/jszip/3.7.1/jszip.min.js"></script>
    <script src="https://cdnjs.cloudflare.com/ajax/libs/pdfmake/0.1.70/pdfmake.min.js"></script>
    <script src="https://cdnjs.cloudflare.com/ajax/libs/pdfmake/0.1.70/vfs_fonts.js"></script>
    <script src="https://cdn.datatables.net/buttons/1.7.1/js/buttons.html5.min.js"></script>
    <script src="https://cdn.datatables.net/buttons/1.7.1/js/buttons.print.min.js"></script>

  </head>
  <body>
    <table id="example">
      <thead>
        <tr>
          <th>Name</th>
          <th>Email</th>
          <th>Phone</th>
        </tr>
      </thead>
      <tbody>
        <tr>
          <td>John Doe</td>
          <td>[email protected]</td>
          <td>1234567890</td>
        </tr>
        <tr>
          <td>Jane Doe</td>
          <td>[email protected]</td>
          <td>0987654321</td>
        </tr>
      </tbody>
    </table>

    <script>
        $(document).ready(function() {
            $('#example').DataTable( { dom: 'Bfrtip', buttons: [ 'copy', 'csv', 'excel', 'pdf', 'print' ] } );
        } );
    </script>
  </body>
</html>
In the above code, we first include the necessary scripts and stylesheets for the Export Data Table plugin. We then create a data table with some sample data. Finally, we call the DataTable function on the data table and pass in some configuration options, including the export formats we want to support.
We also add a button to trigger the export function. When the button is clicked, the export function is called, and the data is exported in the format specified.
Conclusion
In conclusion, implementing a jQuery Export Data Table plugin is a simple and easy process. With this plugin, you can quickly export data from a data table in various formats without the need for server-side processing or any additional software. By following the steps outlined in this blog post, you can quickly and easily implement a jQuery Export Data Table plugin in your web application.


Comments
No comments yet.
Add Comment